Overview:
To implement timezone settings in Power BI, users should follow a structured process that includes creating timezone parameters, converting queries, building a timezone table, binding parameters to data, and adding a slicer for user selection. The article outlines these steps clearly, emphasizing the importance of accurate timezone management for enhancing data analysis and ensuring that reports are relevant and actionable for stakeholders across different regions.
Introduction
In the realm of data analytics, the importance of accurate timezone management cannot be overstated. As organizations increasingly operate across multiple regions, the need to ensure that data is presented in the correct local context becomes essential for effective decision-making.
Power BI offers robust tools to help users navigate the complexities of timezone settings, transforming raw data into meaningful insights. By implementing straightforward strategies for timezone configuration, organizations can enhance their reporting accuracy, improve operational efficiency, and empower stakeholders with timely information.
This article delves into practical steps for mastering timezone management in Power BI, ensuring that businesses can harness the full potential of their data, regardless of geographical boundaries.
Overview of Timezone Implementation in Power BI
Setting up the Power BI timezone is essential to making sure that your information reflects the accurate local time for users or the dataset’s source. Correctly established time settings enable accurate information representation, vital for efficient analysis and reporting. This is particularly important in the context of Business Intelligence, as it aids in transforming raw data into actionable insights, thereby driving operational efficiency and business growth.
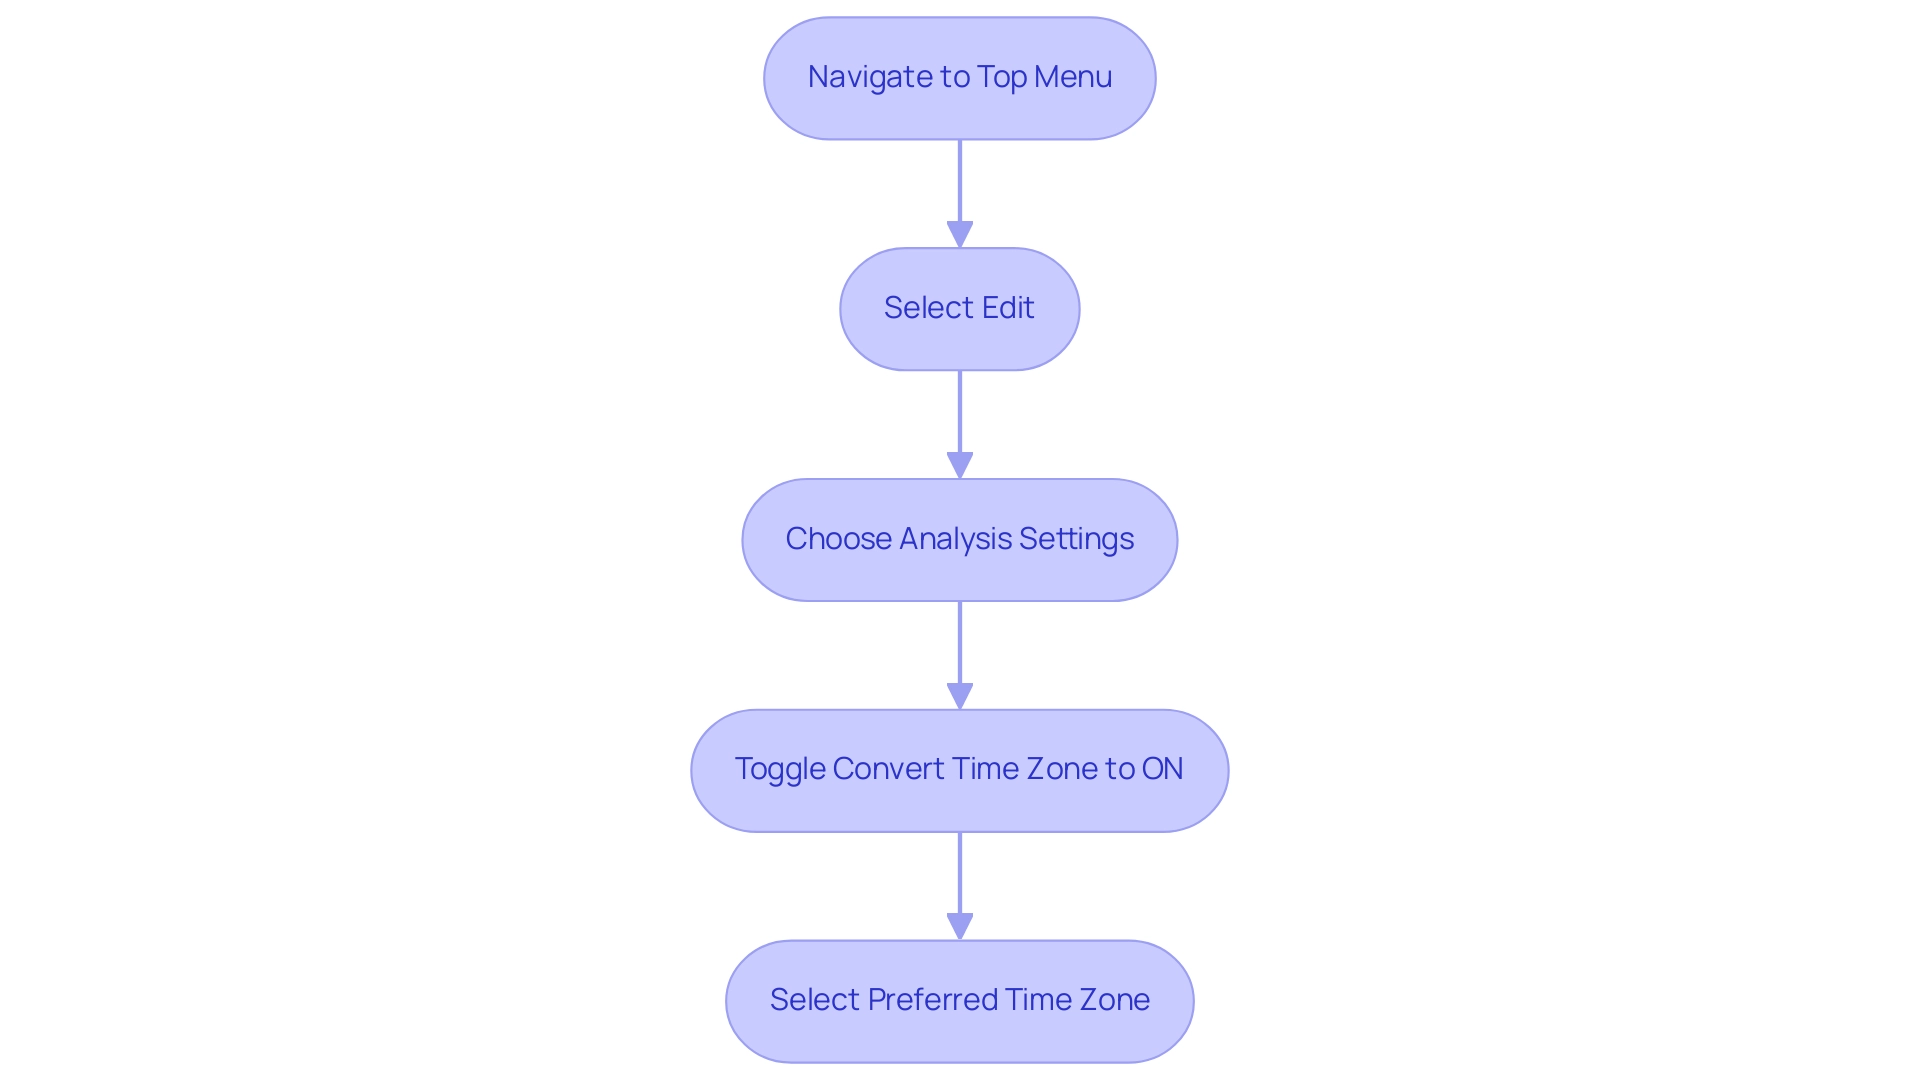
However, without effective management of time zones, businesses may struggle with a lack of data-driven insights, leading to missed opportunities and uninformed decision-making. To modify the time settings in your analysis in Power BI timezone, navigate to the top menu, select ‘Edit’, then ‘Analysis settings’, and toggle ‘Convert time zone’ to ON. From there, select your preferred time zone.
This straightforward process enhances the usability of your reports, making them more relevant and actionable for stakeholders operating across various regions. For instance, in the America/Los_Angeles time zone, the wall time of 2:34 a.m. on March 10, 2024, is a ‘ghost time’ because the clock skips from 1:59 a.m. directly to 3:00 a.m. This demonstrates the practical implications of incorrect time settings.
Furthermore, only twenty countries have more than one observed time zone, often due to geographical diversity or overseas possessions. Countries like France and Chile have additional time zones due to their maritime territories, complicating time zone identification and management. As the saying goes, ‘Data is only as good as the context it is viewed in.’
Understanding the current context of your information is vital for informed decision-making. By mastering the Power BI timezone management in Business Intelligence, you can significantly enhance user engagement with time zone-aware analyses, ensuring your insights are timely and actionable. This mastery not only streamlines creation, reducing the time spent on generating outputs but also mitigates inconsistencies that can lead to confusion and mistrust in the data, empowering you to leverage insights effectively.
Step 1: Creating and Configuring Timezone Parameters
To efficiently handle time zone conversions in Power BI timezone while addressing typical challenges in creation, start by establishing parameters to store your time zone details. As Garth Jones observes, ‘I hope you find that this post about BI parameters assists you in creating more effective reports and dashboards.’ Follow these straightforward steps:
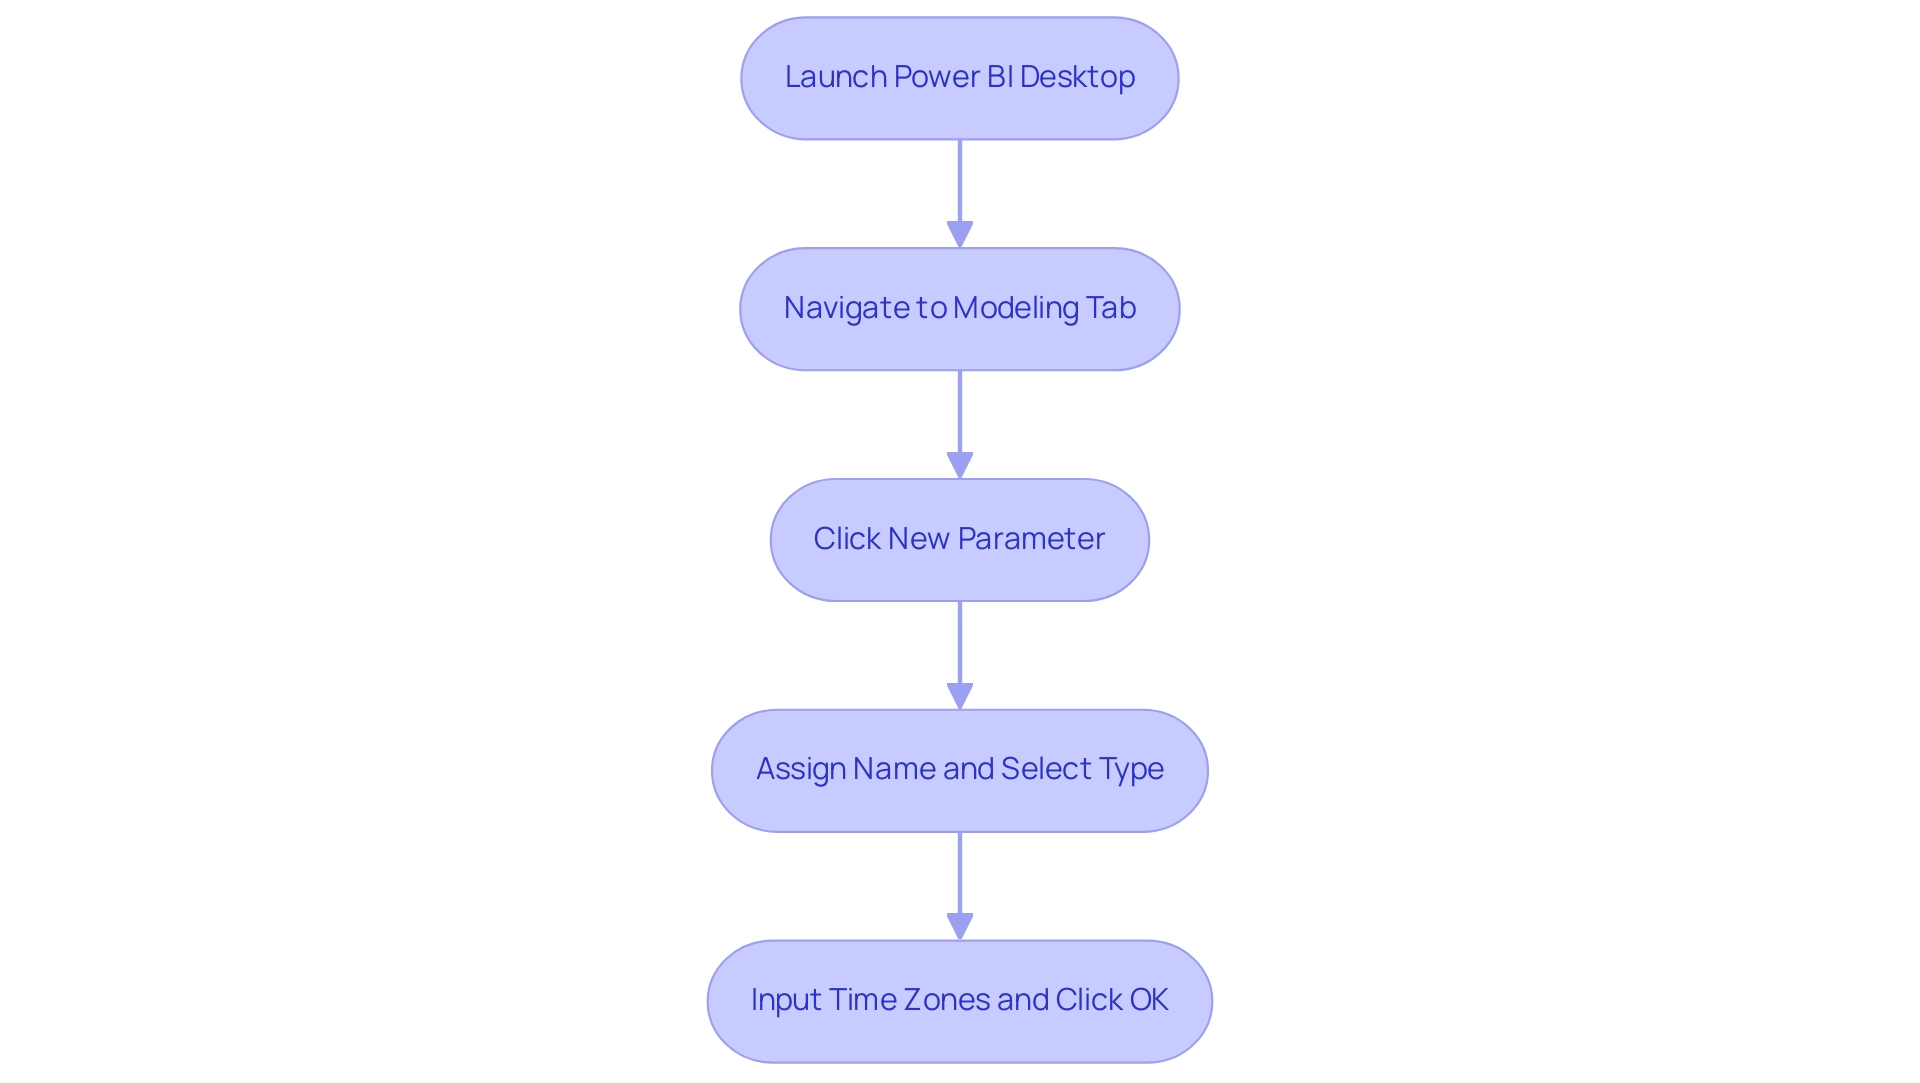
- Launch Power BI Desktop and navigate to the ‘Modeling’ tab.
- Click on ‘New Parameter’ and choose ‘What If Parameter’.
- Assign a name to the parameter (e.g., ‘Timezone’) and select ‘Text’ as the type.
- In the ‘Values’ section, input the time zones you wish to incorporate, such as ‘UTC’, ‘PST’, and ‘EST’.
- Click ‘OK’ to create the parameter.
This newly created parameter will be instrumental in managing conversions related to the Power BI timezone throughout your document, not only facilitating more effective data analysis but also addressing the prevalent issues of data inconsistencies and lack of actionable guidance. Incorporating Robotic Process Automation (RPA) can further streamline this process by automating repetitive tasks related to document creation, ensuring that your team can concentrate on strategic analysis instead. It’s worth noting that parameters can hold up to 1,000 unique values, which allows for flexibility in your configurations.
Furthermore, created parameters are conveniently listed in the Queries pane, enabling you to view, update values, and reconfigure settings as needed. For practical insights, consider the case study on editing your field parameters, which demonstrates how to add the Color field from the Products table, enhancing the usability of your analyses. This not only enhances consistency but also offers stakeholders clearer, actionable insights.
Additionally, many users have expressed appreciation for the best practices and workflows shared in this series, reinforcing the significance of these steps in creating effective BI reports that drive growth and informed decision-making.
Step 2: Converting Queries for Timezone Compatibility
Transforming your queries to Direct Query mode in Power BI timezone is a straightforward process that enhances your ability to handle live data and make necessary time zone adjustments, which are crucial for operational efficiency. However, manual, repetitive tasks can significantly slow down your operations, leading to wasted time and resources. This is where Robotic Process Automation (RPA) can streamline your workflow, boosting efficiency, reducing errors, and freeing up your team for more strategic, value-adding work.
Follow these steps for a seamless transition:
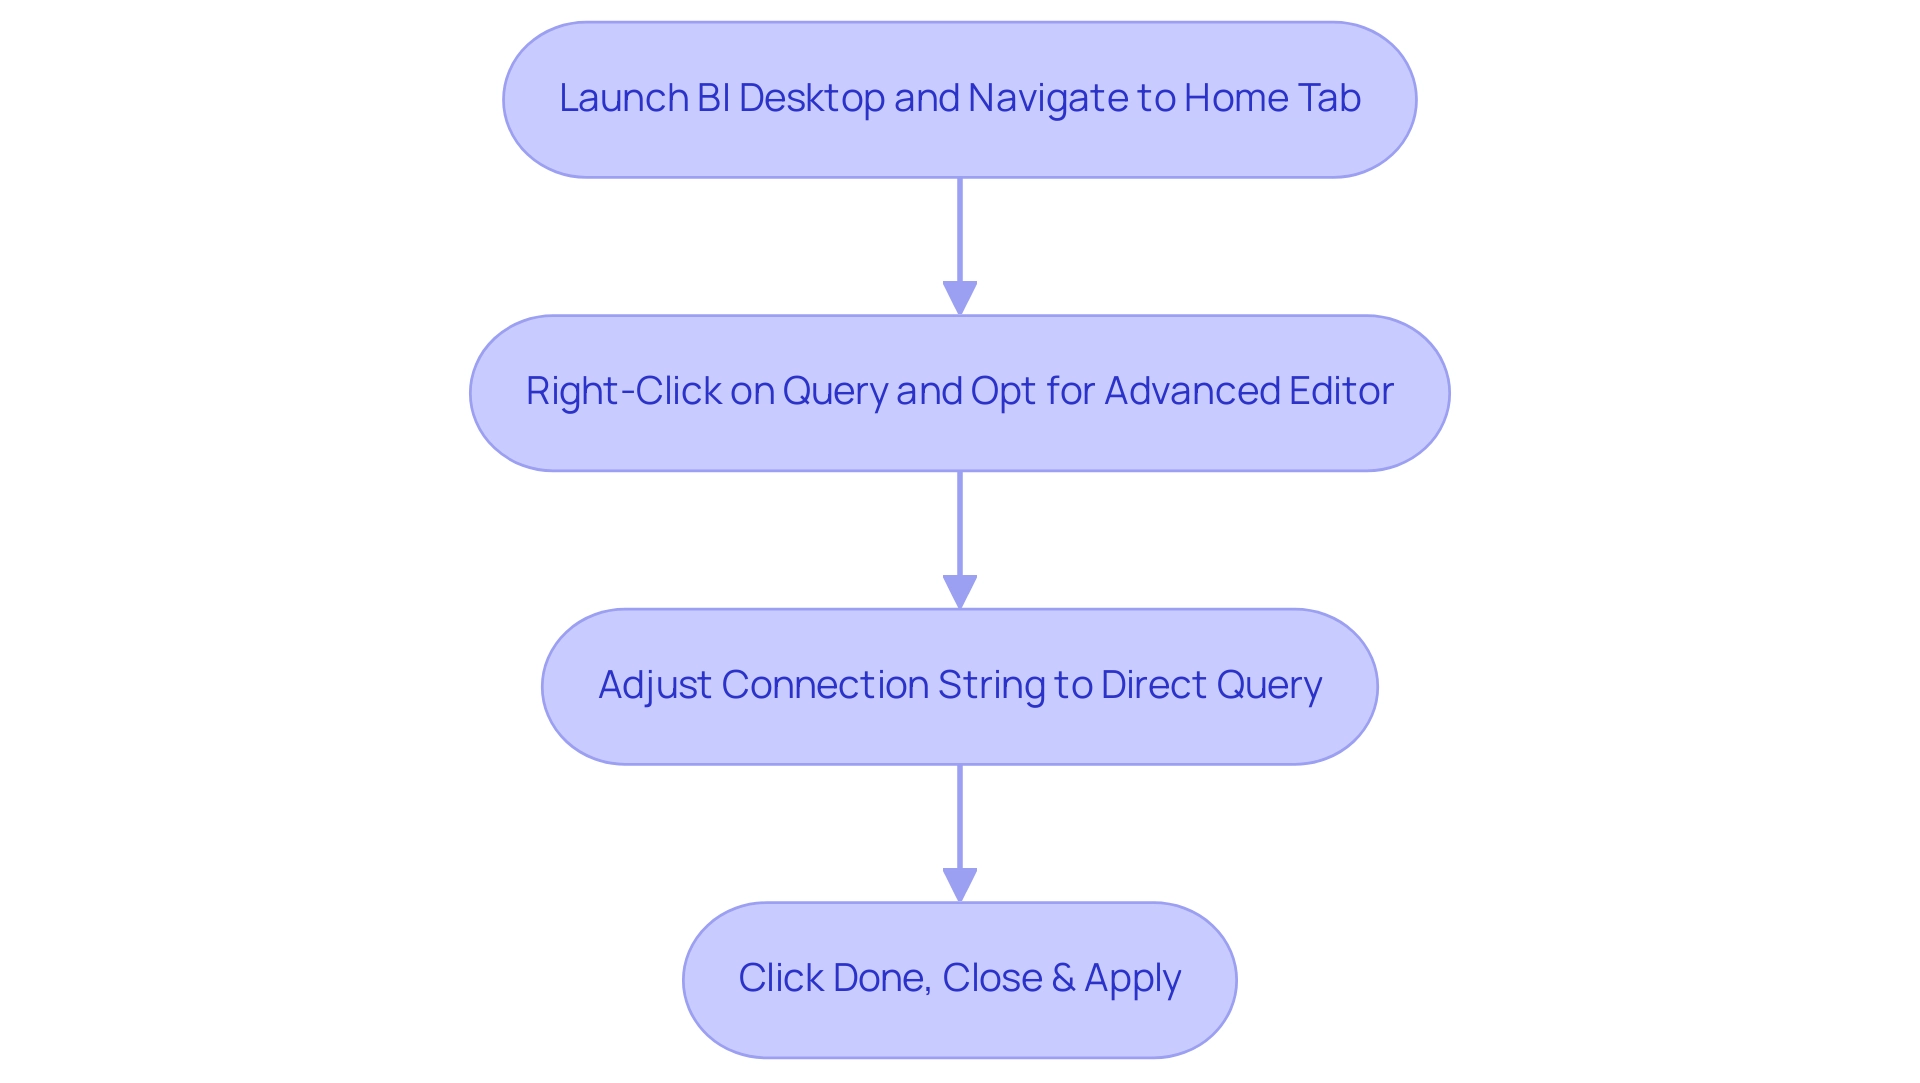
- Launch BI Desktop and navigate to the ‘Home’ tab, then select ‘Transform Data’. In the Power Query Editor, locate and select the query you want to convert.
- Right-click on the chosen query and opt for ‘Advanced Editor’.
- Adjust the connection string to transition from Import mode to Direct Query mode, ensuring it accurately points to your live information source. Click ‘Done’, followed by ‘Close & Apply’.
This conversion is essential as it ensures that all information reflects any modifications you implement in the Power BI timezone in subsequent steps, thereby enhancing the relevance of your insights. The advantages of utilizing Direct Query mode are considerable; for example, dashboard tiles can be updated as often as every 15 minutes, giving you the most up-to-date information available. In contrast, Import mode has limitations, such as information freshness being reliant on the last refresh, which can hinder timely decision-making.
As community support expert Stephen Tao highlights,
If you want to know more about the advantages and disadvantages and differences between the three connection modes, you can refer to this article, which is introduced in detail.
Furthermore, with 2,305 users online in the Fabric community, you can find robust support and shared experiences regarding these connection modes. The case study titled ‘Understanding Connection Modes in BI’ also illustrates how various connection modes influence information handling, reinforcing the significance of selecting the suitable method for your requirements.
By utilizing Direct Query mode with RPA solutions such as EMMA RPA and Automate, you not only optimize updates but also tackle task repetition fatigue, enhance adaptability to the Power BI timezone, and improve operational efficiency, enabling a more precise analysis of your operations and propelling your business growth through effective use of Business Intelligence tools.
Step 3: Building a Timezone Table for Data Management
Creating a power bi timezone table is an essential step towards efficient information management, especially for organizations functioning across multiple time zones. According to a survey by MicroStrategy, 88% of organizations utilizing cloud-based BI reported increased flexibility in accessing and analyzing information from anywhere, anytime. This flexibility emphasizes the necessity of having a power bi timezone table to improve data accessibility and analysis.
Here’s how to create one effortlessly:
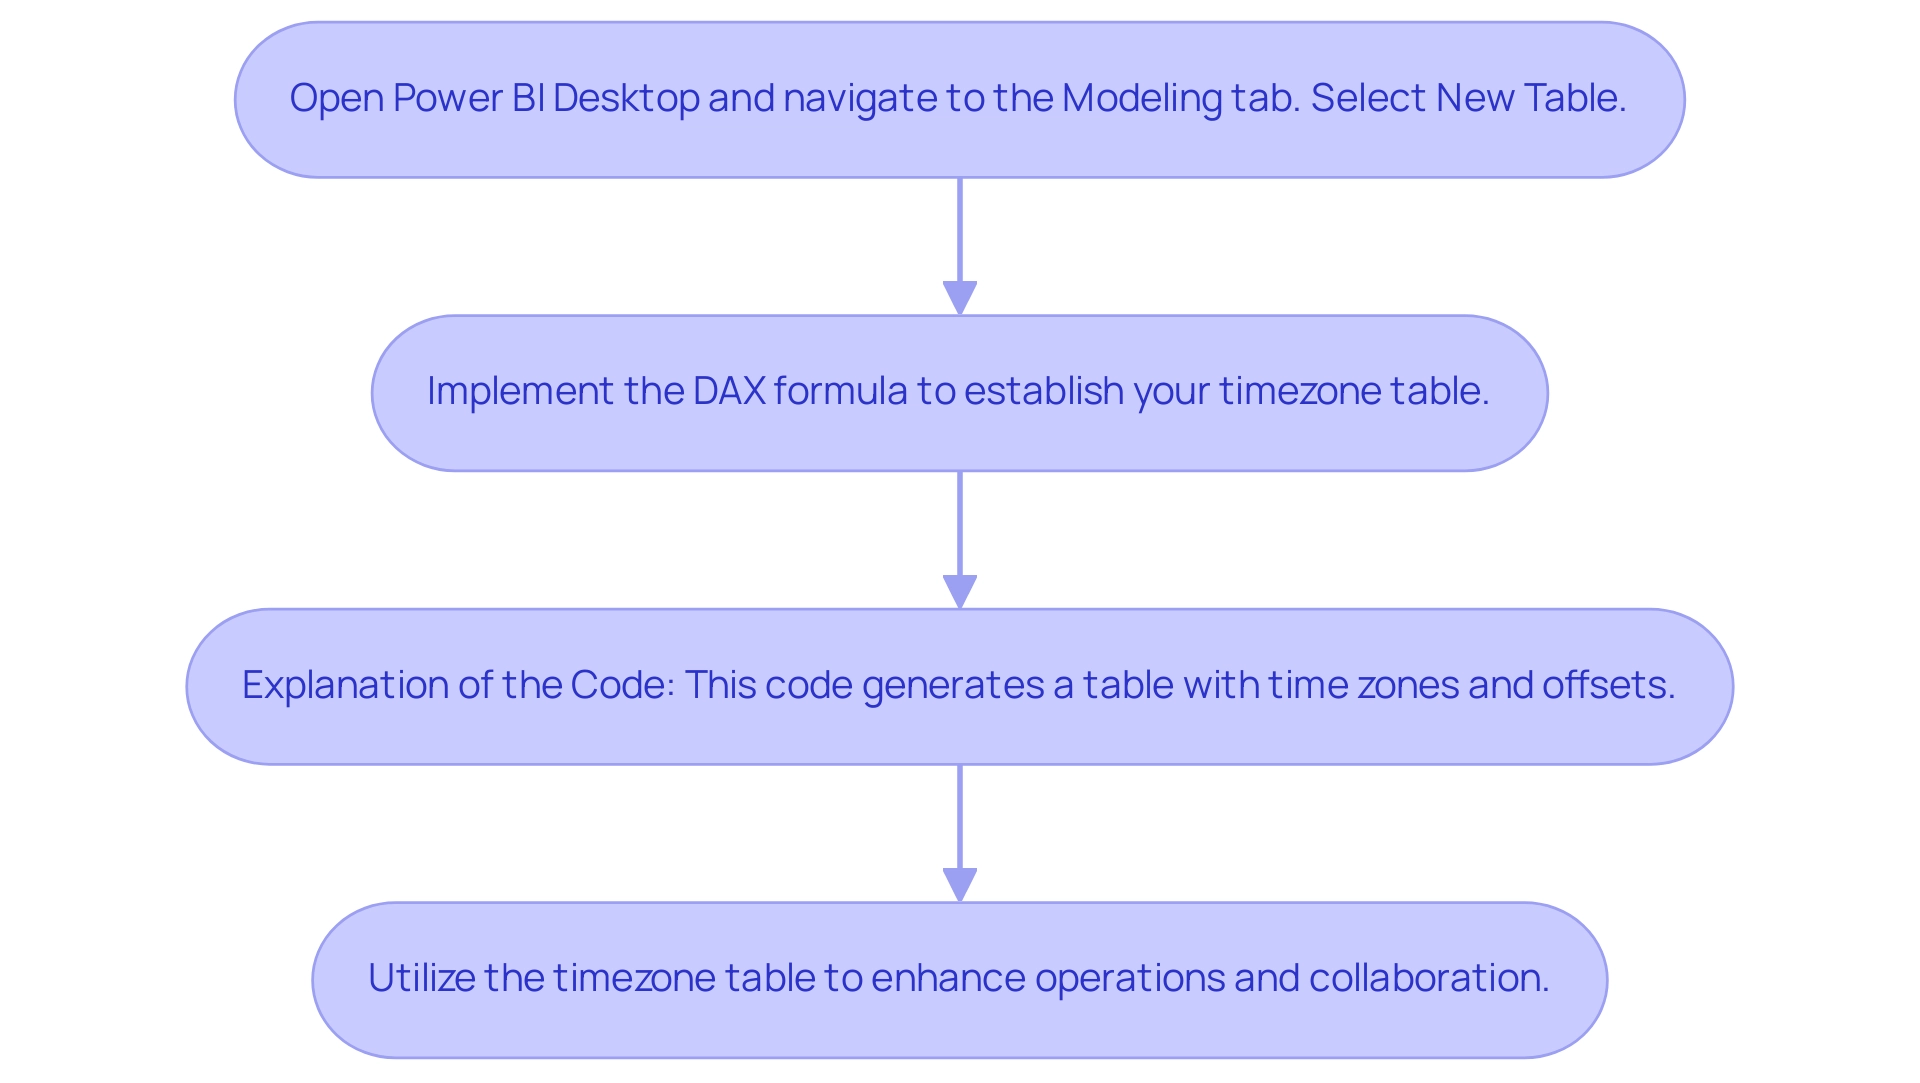
- Open Power BI Desktop and navigate to the ‘Modeling’ tab. Select ‘New Table’.
- Implement the following DAX formula to establish your timezone table:
time zone table = DATATABLE(

       "Timezone", STRING,

       "Offset", INTEGER,

       {

           {"UTC", 0},

           {"PST", -8},

           {"EST", -5}

       }

   )
- Explanation of the Code: This code snippet generates a table featuring various time zones along with their corresponding offsets. Feel free to adjust these values to suit your specific requirements. Once this table is established, it will serve as a vital component for linking your datasets with the appropriate power bi timezone, ensuring that your reporting and analysis are globally synchronized.
Utilizing a timezone table not only streamlines your operations but also enhances collaboration among distributed teams, mitigating communication delays and information silos. As highlighted in our BI services, including the 3-Day Sprint for rapid report creation and the General Management App for comprehensive management and smart reviews, managing teams across various time zones presents challenges that hinder real-time collaboration. Business Intelligence dashboards have transformed reporting and analysis, facilitating synchronized and efficient decision-making for geographically dispersed teams.
In today’s fast-paced, interconnected business environment, having this capability at your fingertips is indispensable. Schedule a complimentary consultation to discover how our BI services can improve your reporting.
Step 4: Binding Timezone Parameters to Your Data
To effectively bind your timezone parameters to your data in Power BI, follow these systematic steps:
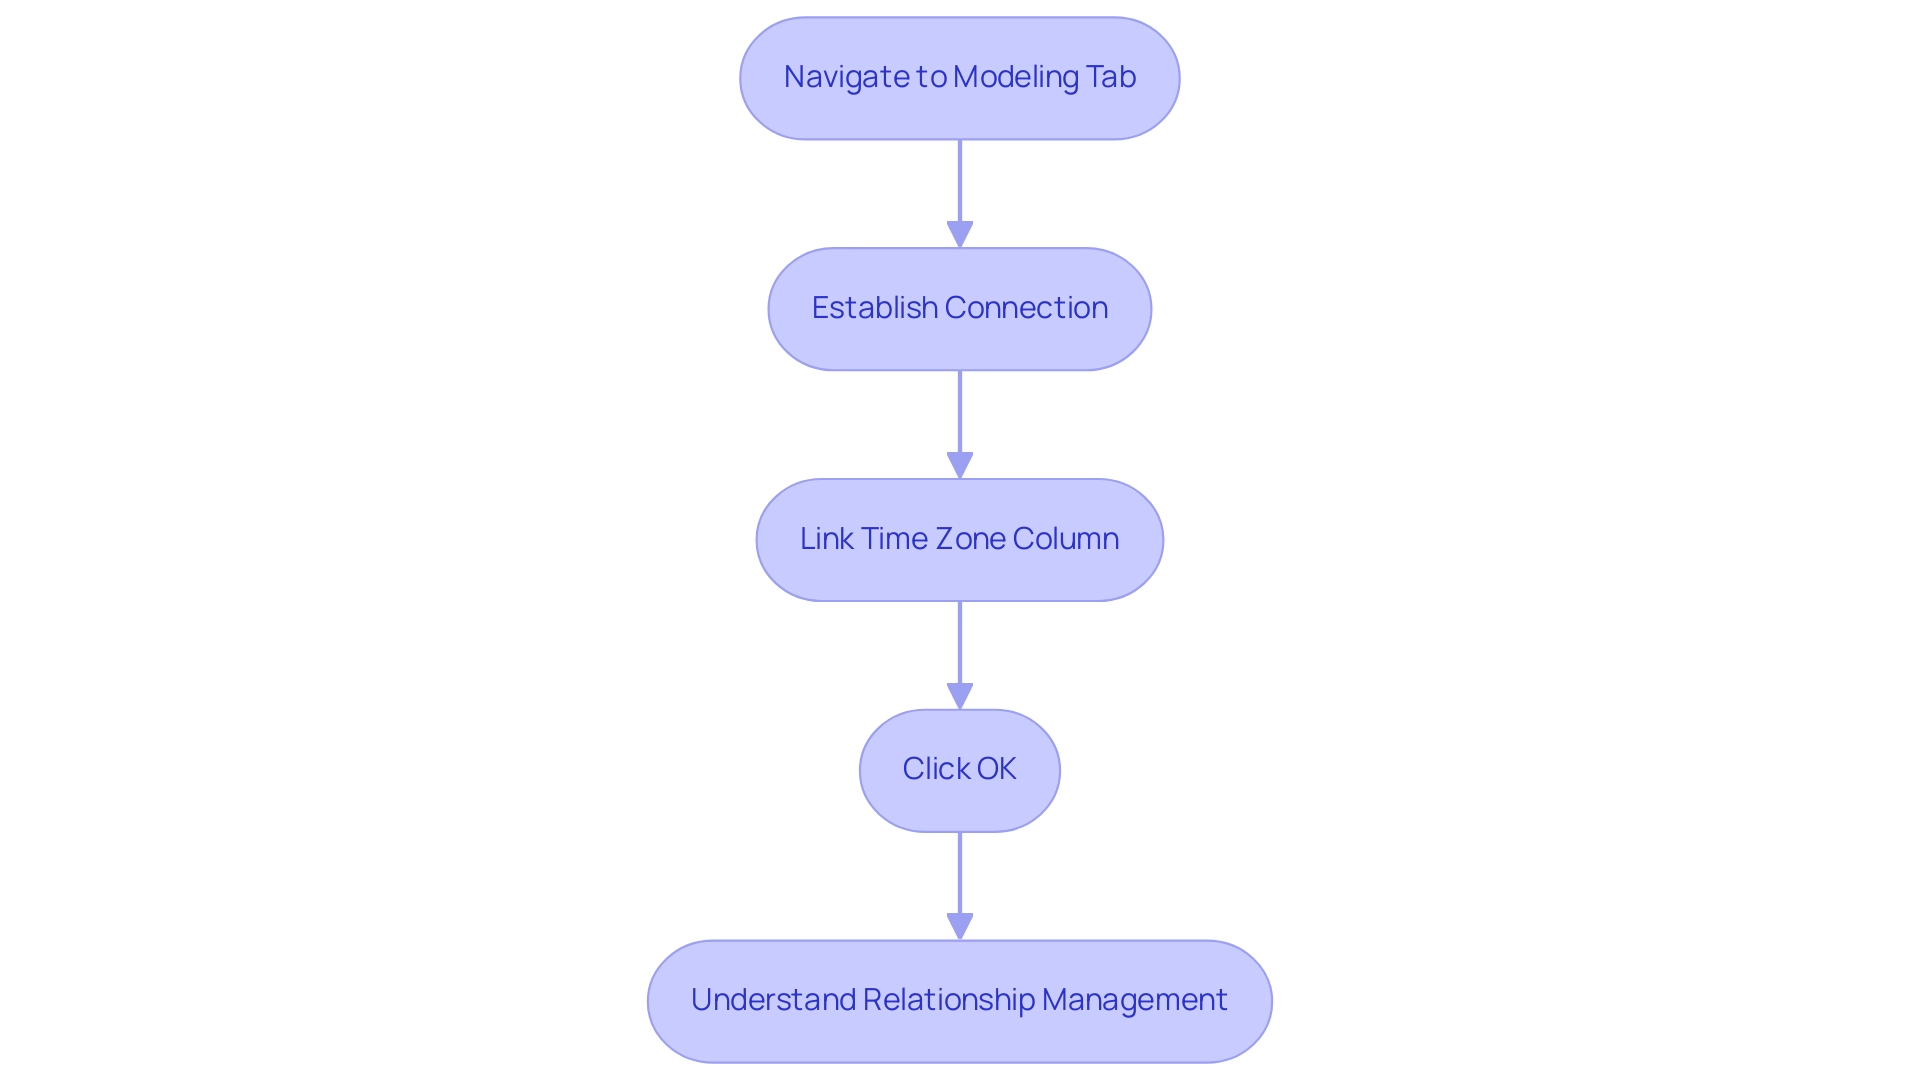
- Navigate to the ‘Modeling’ tab and select ‘Manage Relationships’. This is where you can supervise the links between various information tables, a crucial step in tackling the common issues of inconsistencies and ensuring precise output generation, especially in the absence of a strong governance strategy.
- Establish a connection between your main record table and the time zone table you set up earlier. This step is crucial for ensuring precise information representation, helping to mitigate the confusion often caused by time-consuming report creation.
- Ensure that the binding is set up to link the time zone column in your information table with its matching entry in the time zone table. This alignment is crucial for precise time conversions, offering stakeholders with clear and actionable insights instead of merely unprocessed information.
- Click ‘OK’ to apply the changes. By finalizing this binding, you allow BI to apply the correct Power BI timezone configurations across your reports, thus guaranteeing that information is shown precisely based on the chosen timezone.
Understanding the nuances of relationship management is key, especially considering that for one-to-many relationships, the cross filter direction is always from the ‘one’ side, and optionally from the ‘many’ side. This understanding not only improves your information accuracy but also empowers you to make informed decisions based on reliable insights. As one user noted, “Thank you.
To update, I did just switch the ‘relationships’ around which seems to have worked,” highlighting the practical importance of managing relationships effectively. Additionally, consider the implications of limited relationships in Power BI, which occur when there is no guaranteed ‘one’ side, often due to many-to-many cardinality or cross-source group relationships. These limitations can complicate information management and further emphasize the need for a governance strategy to prevent inconsistencies.
These insights can guide you in navigating the complexities of data management while unlocking the full potential of Business Intelligence in driving operational efficiency.
Step 5: Adding a Slicer for Timezone Selection
To effectively add a slicer for timezone selection in Power BI and boost user engagement, follow these streamlined steps:
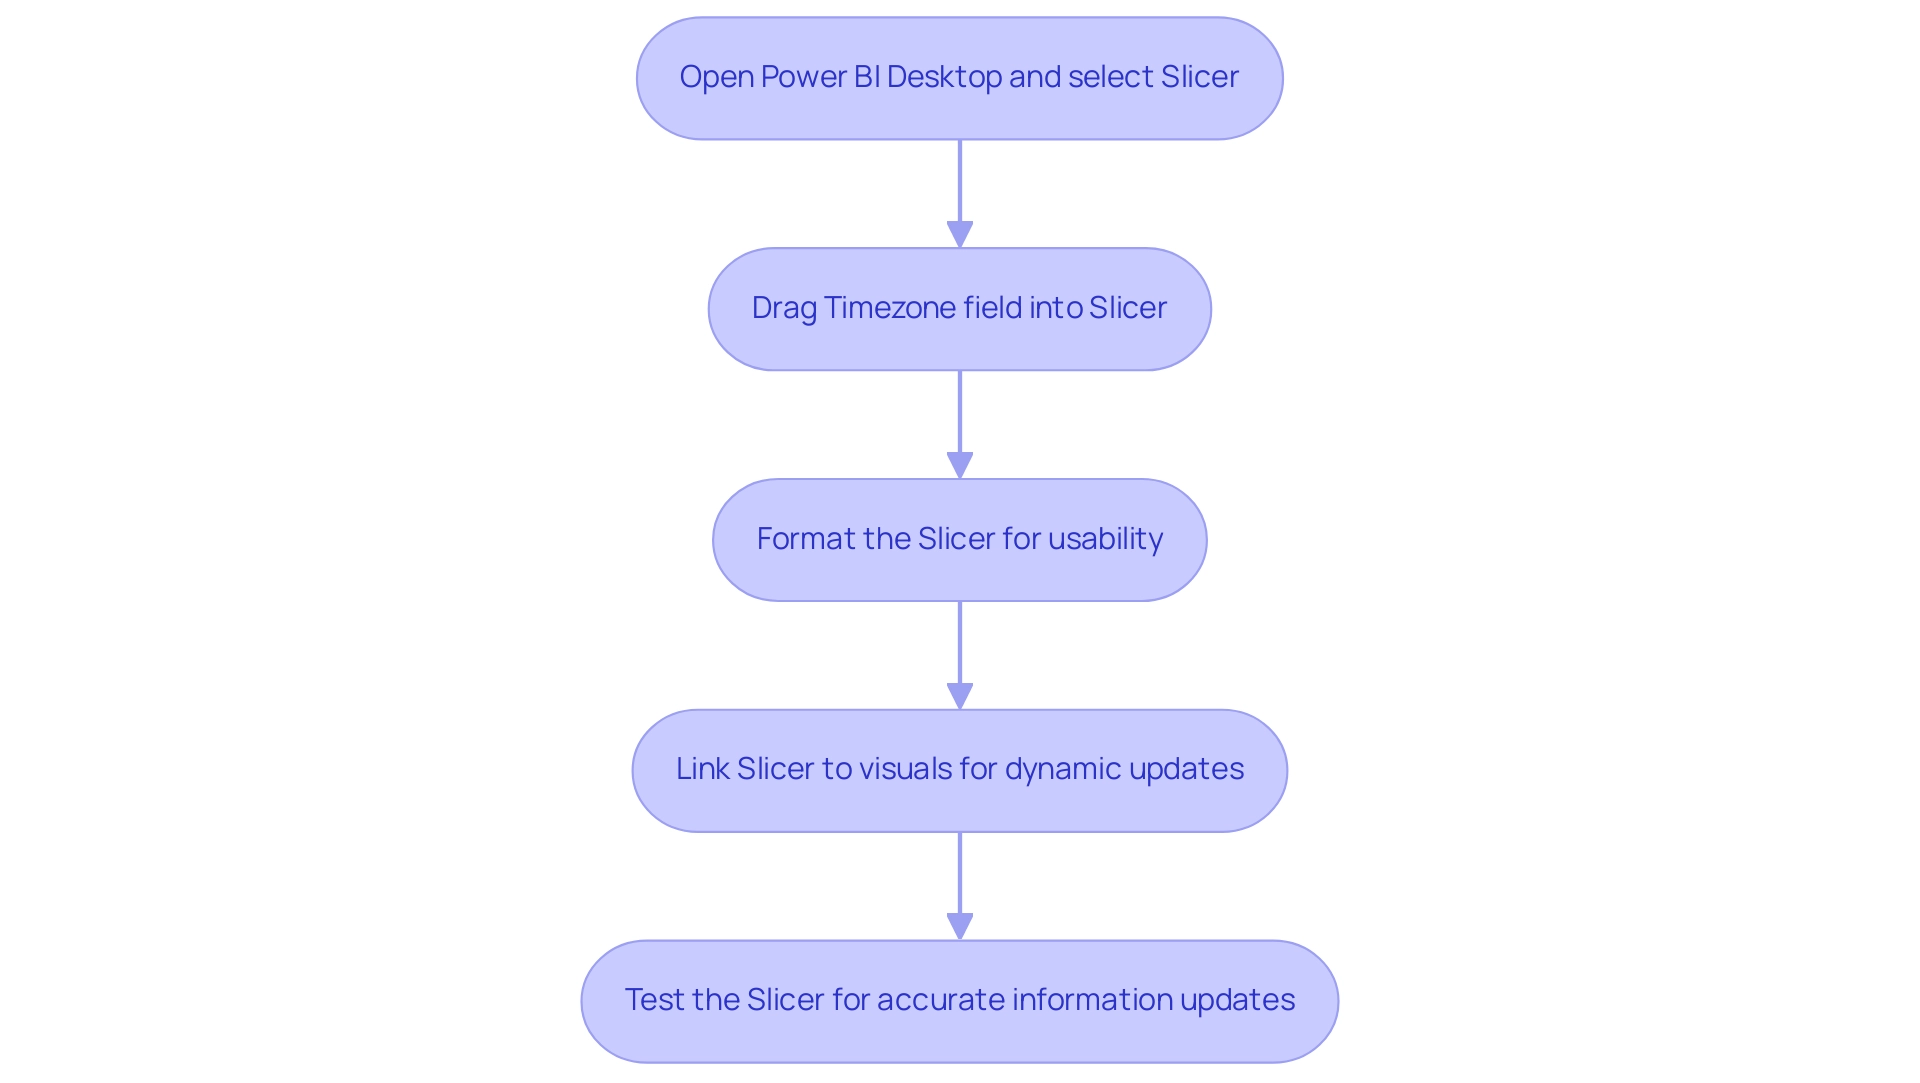
- Open Power BI Desktop and navigate to the ‘Visualizations’ pane, then select the ‘Slicer’ visual to create an interactive element.
- Drag the ‘Timezone’ field from your designated timezone table into the slicer visual in Power BI timezone, ensuring users can choose from an array of timezones.
- Format the slicer in Power BI timezone to enhance usability, allowing for a clear list of available timezones that promotes user interaction.
- Link the slicer to the visuals on your page in the Power BI timezone to enable dynamic updates based on user choices, enhancing the interactive experience.
- Finally, rigorously test the slicer by selecting various options within the Power BI timezone and confirming that the information reflects these changes accurately. This feature not only boosts user involvement but also greatly enhances the utility of your documents, tackling the frequent issues of time-consuming document creation and inconsistencies.
Furthermore, consider the insights from the case study on viewing all workspace usage metrics, which emphasizes the value of removing filters for a comprehensive overview of performance across dashboards. By allowing users to make a copy of the usage metrics report or connect to the underlying semantic model, BI fosters flexibility and deeper insights. As Statfusionai, a seasoned Data Scientist, aptly states, “I’m a Data Scientist with a passion for solving real-world problems through data-driven insights.”
This sentiment underscores the transformative potential of embracing tools like slicers in BI, not only to enhance user engagement but also to drive meaningful outcomes in your data visualization efforts.
In light of the challenges posed by a lack of data-driven insights, leveraging Business Intelligence and RPA solutions like EMMA RPA and Power Automate can empower your organization to unlock actionable insights, ultimately driving growth and operational efficiency.
Conclusion
Mastering timezone management in Power BI is essential for organizations operating across multiple regions. By implementing effective timezone settings, businesses can ensure that data is accurately represented, leading to informed decision-making and enhanced operational efficiency. The article outlined practical steps, including:
- Creating and configuring timezone parameters
- Converting queries for timezone compatibility
- Building a timezone table
- Binding these parameters to data
- Adding slicers for user-friendly timezone selection
These strategies not only streamline the reporting process but also empower stakeholders with timely and relevant insights. By overcoming the common challenges associated with timezone discrepancies, organizations can transform their data into actionable intelligence, driving business growth and improving overall performance. The integration of tools like Robotic Process Automation further enhances efficiency, allowing teams to focus on strategic analysis rather than repetitive tasks.
In today’s interconnected business environment, accurate timezone management in Power BI is not just a technical necessity; it is a cornerstone of effective Business Intelligence. By harnessing these capabilities, organizations can unlock the full potential of their data, ensuring that every decision is made with the right context in mind. Embracing these practices is a significant step towards achieving operational excellence and fostering a culture of data-driven decision-making.

